

Hotel Reservation Software: Our 10 Implementation Phases

Getting hotel reservation software implementation right is the difference between a system your team trusts and one they work around. A rushed or unstructured rollout leads to misconfigured settings, undertrained staff, and booking errors that guests feel before you do.
The 10 phases outlined here give you a clear, sequential path from initial setup to post-launch refinement. Each phase targets a specific layer of the implementation—so nothing gets skipped, and your team goes live with confidence.
How I Approach Hotel Reservation Software Implementation
I break hotel reservation software implementation into 10 practical phases that guide your property from initial configuration through post-launch refinement:

1. Project Planning and Stakeholder Alignment
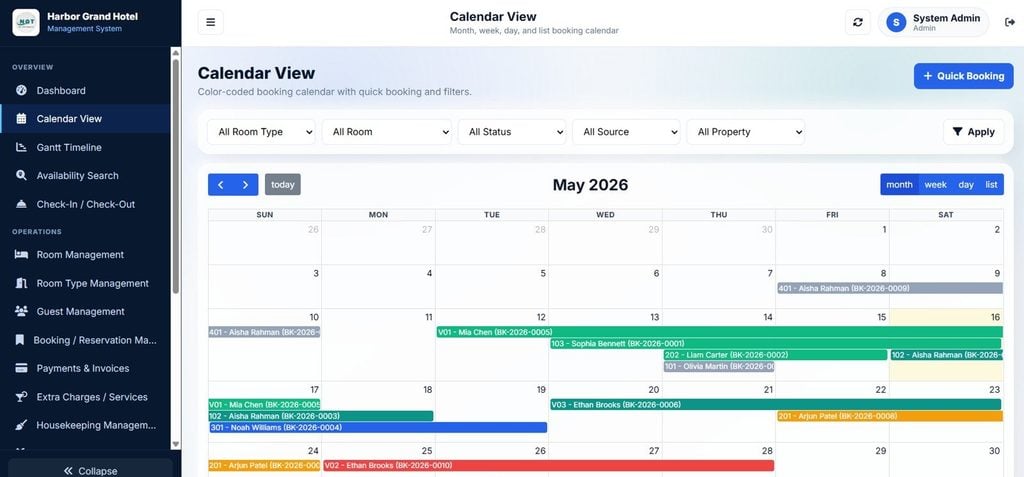
Before you touch any configuration, get the right people in the room. That means your front desk manager, revenue manager, IT lead, and at least one representative from housekeeping or operations. Each department has workflows that your new system will touch, and discovering conflicts late costs far more than an extra planning meeting upfront.
Define a realistic go-live date and work backward. Map out each phase, assign an owner, and document who approves what. If your property runs on a legacy hotel property management software, identify data migration needs early—guest history, rate plans, and existing reservations all need a clear transfer plan.
The most common misstep here is treating implementation as an IT project. It's not. It's an operations project that IT supports. Keep your general manager involved and make sure every department head understands the timeline before setup begins.
Before configuration starts, lock down these planning decisions so each department knows its responsibilities and approval points:
- Name decision-makers: Assign an executive sponsor, project owner, department leads, and a final approver for unresolved issues.
- Document workflows: Map reservations, cancellations, payments, room status updates, and guest requests across affected departments.
- Set migration rules: Decide which guest profiles, reservations, rate plans, and historical records require transfer from the legacy PMS.
- Define go-live criteria: Agree on testing results, training completion, data accuracy, and support coverage required before launch.
- Control changes: Record new requests, assess their operational impact, and approve only changes that fit the timeline and budget.
2. Infrastructure and Environment Readiness Assessment
Before any software gets installed, confirm your property's infrastructure can actually support it. That means testing your internet connection at the front desk, back office, and any remote terminals. A dropped connection mid-check-in isn't a minor inconvenience—it breaks the guest experience.
Loop in your IT lead and the software vendor's implementation team here. They'll identify hardware gaps, firewall conflicts, and whether your existing devices meet minimum specs. Don't assume they do.
The mistake I see most often is skipping a real-world load test. Running the system under normal conditions isn't enough—simulate peak occupancy traffic to catch slowdowns before guests do. Also confirm your backup internet solution is actually functional, not just documented. If your primary connection fails during a busy check-in window, your team needs a reliable fallback they've already tested, not one they're troubleshooting on the spot.
- Test every location: Check internet speed and connection stability at the front desk, back office, remote terminals, and any mobile workstations.
- Verify equipment: Compare computers, tablets, receipt printers, payment terminals, and network devices against the vendor’s published requirements.
- Review network access: Ask IT and the vendor to check firewall rules, required ports, user permissions, and integrations with connected systems.
- Simulate peak demand: Test multiple simultaneous searches, bookings, check-ins, payment attempts, and room-status updates during a busy operating period.
- Prove the fallback plan: Switch to backup internet, confirm access to essential system functions, and document manual procedures for an outage.
- Record open issues: Log each performance problem, hardware gap, and configuration dependency with an owner and deadline before launch.

3. Data Migration Mapping and Preparation
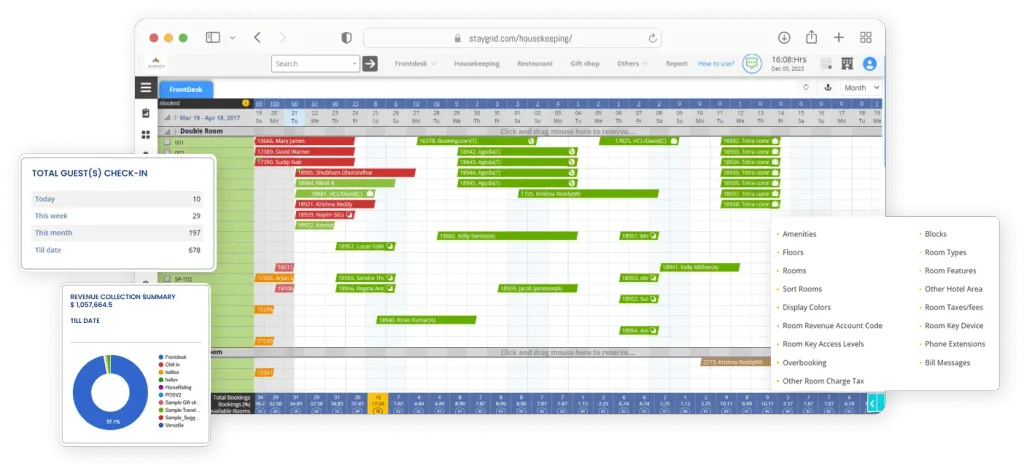
Pull a full export from your legacy system before anything else. You need to know exactly what you're working with—guest profiles, historical reservations, rate plans, loyalty records, and any outstanding bookings that must transfer intact.
Not everything is worth migrating. Old no-show records from five years ago rarely need to move, but active corporate accounts and future reservations absolutely do. Work with your revenue manager and front desk lead to decide what gets transferred, what gets archived, and what gets left behind. Your vendor's implementation team should validate the data format before any import begins—mismatched field structures are the most common reason migrations fail silently. Run a test migration with a small dataset first, verify the output, and document every mapping decision so your team can trace discrepancies after go-live.
Use this mapping framework to decide what to transfer, how to validate it, and where to keep the audit trail:
| Data Set | Transfer Action | Validation Check | Handling Notes |
|---|---|---|---|
| Future reservations | Import all confirmed and provisional bookings. | Compare dates, room types, rates, deposits, and guest details against the legacy system. | Reconcile totals before opening new bookings. |
| Guest profiles | Transfer active profiles and approved preferences. | Check duplicate records, contact fields, consent flags, and loyalty identifiers. | Archive inactive profiles when retention rules allow. |
| Rate plans | Recreate rate codes, restrictions, taxes, and inclusions. | Test pricing across dates, occupancy levels, channels, and cancellation terms. | Keep a mapping between old and new rate codes. |
| Room inventory | Match room numbers, room types, and availability rules. | Compare sellable inventory and out-of-order rooms with the property’s room list. | Resolve naming differences before importing reservations. |
| Payment records | Transfer required deposit and payment references securely. | Confirm balances, refunds, payment status, and token compatibility. | Never export or store full card details in unsecured files. |
| Historical records | Archive older stays outside the new system when appropriate. | Confirm authorized staff can retrieve records needed for reporting or service. | Document the archive location, access rules, and retention period. |
| Test migration | Import a limited dataset before the full transfer. | Compare record counts and sample fields across both systems. | Log every discrepancy, correction, and approval before proceeding. |
4. System Configuration and Customization
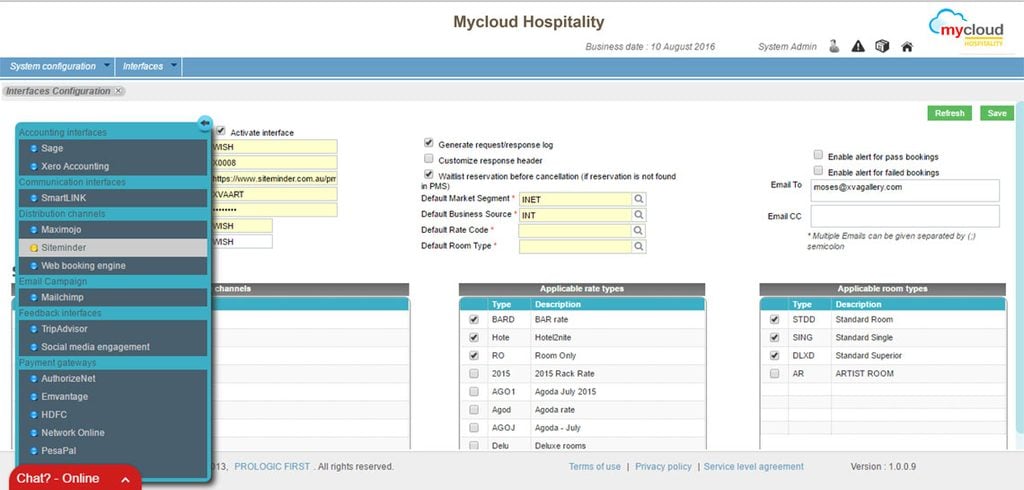
Start with your room types, rate plans, and tax settings—these form the foundation everything else builds on. Get them wrong here, and you'll chase pricing errors across every channel after launch. Your revenue manager and front desk lead should both review the configuration before you move on.
Resist the urge to recreate your old system exactly. This is your opportunity to clean up legacy workarounds and build workflows that actually match how your team operates today. Configure only what you need for launch. Overloading the system with rate codes, room categories, or custom fields you don't use yet creates confusion during training and makes troubleshooting harder.
Test every setting in a sandbox environment before it goes live. A misconfigured cancellation policy or deposit rule can affect real bookings within hours of launch.
Use this configuration checklist to catch pricing, inventory, and workflow issues before they reach live bookings:
Build the inventory: Create room types, room numbers, occupancy limits, and out-of-order rules. Compare sellable inventory against your approved room list.
Set rate logic: Configure rate codes, restrictions, taxes, inclusions, deposits, and cancellation policies. Test prices across dates, occupancy levels, and booking channels.
Define user access: Give each role only the permissions required for its work. Review access for front desk, revenue, housekeeping, finance, and administrators.
Map daily workflows: Configure reservation changes, payment capture, room-status updates, guest requests, and cancellations around your current operating procedures.
Limit customization: Add only the fields, alerts, and automations your team needs at launch. Put lower-priority requests into a documented post-launch backlog.
Review with stakeholders: Ask revenue and front desk leads to approve pricing rules. Have operations verify room statuses and housekeeping handoffs.
Test failure scenarios: Try overbooking, late cancellation, partial payment, date changes, room moves, and failed payment attempts in the sandbox.
Protect live data: Keep all configuration changes in the test environment until owners approve the results. Record approved settings and their effective dates.
I’ve had the privilege of leading transformative Oracle implementations at MGM for several years now—including our successful migration to Oracle Opera Cloud PMS at many of our resorts.

5. Third-Party and Channel Integration Setup

Connect your OTAs, GDS, and channel manager before you touch live inventory. Mismatched rate parity or availability gaps between your PMS and booking channels translate directly into overbookings or lost revenue—neither of which your guests will forgive.
Your revenue manager and IT lead should own this phase together. Map every integration point, then test each one individually: push a rate change, confirm it appears correctly across all channels, and verify that a test booking flows back into the PMS with the right details. Don't assume a successful API handshake means the data is accurate. Also confirm your payment gateway is live and processing correctly before go-live—a failed transaction at check-in is harder to recover from than a configuration delay.
Use this integration checklist to verify that connected channels exchange accurate inventory, rates, reservations, and payment details:
Map connections: List every OTA, GDS, channel manager, payment gateway, and other system that exchanges data with the PMS.
Confirm ownership: Assign revenue, IT, and vendor contacts for setup, testing, approval, and incident handling.
Test rate updates: Change a rate in the PMS, then verify dates, occupancy rules, taxes, restrictions, and inclusions across each channel.
Test inventory updates: Adjust available rooms and close a room type, then confirm every connected channel reflects the change.
Verify reservations: Create test bookings through each channel and check guest details, room types, rates, cancellation terms, and payment status in the PMS.
Check error handling: Review rejected messages, duplicate bookings, delayed updates, and failed payments. Document who investigates each issue.
Protect live inventory: Keep production connections closed until test results receive approval from revenue, front desk, IT, and the vendor.
6. User Acceptance Testing
Put your actual front desk staff, revenue manager, and housekeeping team through the system before anyone signs off on go-live. They'll catch workflow gaps that no IT checklist will surface—like a room-status update that doesn't trigger correctly or a rate that displays wrong on a specific booking channel.
Run through your most common daily scenarios: walk-in check-ins, reservation changes, cancellations with deposit refunds, and group bookings. Then test your edge cases—overbooking alerts, failed payments, and late checkouts. Document every issue with enough detail that your vendor can reproduce and fix it. Don't approve go-live until every critical defect is resolved and your team feels confident using the system under pressure. A rushed sign-off here is the single fastest way to turn launch week into a recovery operation.
Use this test sequence to confirm the reservation system supports daily work before approval:
Prepare realistic cases: Create test profiles, reservations, deposits, room assignments, rate plans, and booking-channel scenarios.
Run daily workflows: Have front desk staff complete searches, bookings, check-ins, room moves, payments, cancellations, and checkouts.
Test exceptions: Try overbooking alerts, failed payments, date changes, refunds, late checkouts, duplicate profiles, and unavailable rooms.
Verify department handoffs: Confirm housekeeping receives room-status changes and front desk teams see updated notes, requests, and maintenance holds.
Record reproducible defects: Log the steps, user role, test data, expected result, actual result, screenshots, and business impact.
Retest resolved issues: Repeat each failed scenario after correction, then confirm related workflows still produce accurate results.
Collect user approval: Require front desk, revenue, housekeeping, finance, and management representatives to approve their assigned workflows.
Set launch conditions: Proceed only when training is complete, unresolved issues have owners, and support contacts are available during go-live.
7. Staff Training and Role-Based Onboarding
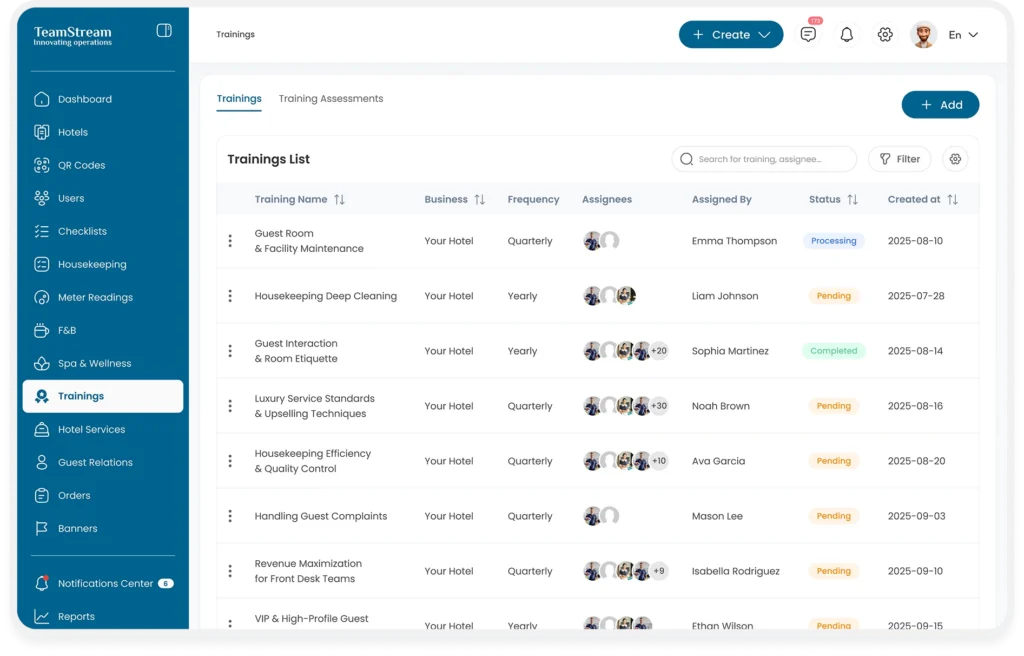
Train each role on only what they’ll actually use. Front desk agents need check-in, check-out, reservation changes, and folio management, while revenue managers need rate configuration and reporting. Giving every department the same training wastes time and makes it harder for staff to retain the workflows relevant to their jobs.
Run training in your staging environment so employees can practice without affecting live reservations. Have staff work through realistic scenarios such as room moves, payment adjustments, cancellations, refunds, and early departures. Identify one or two confident users in each department as floor leads who can support colleagues during launch.
Use this training sequence before go-live:
- Map permissions: Match each role to the screens, actions, and guest data they need
- Demonstrate workflows: Walk through complete reservation, payment, room move, and checkout processes
- Practice exceptions: Test overbookings, duplicate profiles, declined payments, and early departures
- Check understanding: Have staff complete scenarios without step-by-step coaching
- Capture open questions: Resolve outstanding workflow questions before launch day
8. Parallel Testing and Quality Assurance
Run the legacy and new systems side by side before go-live so your team can compare reservations, payments, inventory, and reporting. Your front desk manager, revenue manager, and finance lead should each validate the workflows they own.
Focus testing on situations that are most likely to expose problems, including overbookings, split payments, same-day cancellations, rate overrides, room moves, and early departures. Trace every discrepancy back to its source rather than treating it as an isolated error.
Use this QA sequence:
- Set the threshold: Define which errors must be resolved before launch
- Run parallel transactions: Compare bookings, modifications, cancellations, payments, and checkouts across both systems
- Test edge cases: Include overbookings, split payments, rate overrides, and unusual departure scenarios
- Trace discrepancies: Review configuration, integrations, source records, and user actions
- Collect approvals: Require front desk, revenue, and finance leads to sign off before go-live
9. Go-Live and Cutover Execution
Schedule your cutover for a lower-volume period rather than a peak arrival day. Close pending transactions in the legacy system, complete the final data transfer, and confirm that reservations, rate plans, inventory, integrations, payments, and user access are ready before activating the new platform.
Keep department leads and trained floor leads available during the first shifts so problems can be resolved quickly. Your implementation contact should also be reachable for issues that require vendor support.
Use this cutover sequence:
- Confirm readiness: Verify backups, migrated data, integrations, inventory, rates, permissions, and support contacts
- Freeze changes: Stop nonessential changes in the legacy system and log late reservation updates
- Close the legacy system: Settle outstanding transactions and account for open folios and arrivals
- Activate the new system: Load approved data and enable live connections
- Monitor the first shift: Check arrivals, departures, room assignments, folios, and channel reservations closely
10. Post-Launch Monitoring and Ongoing Support
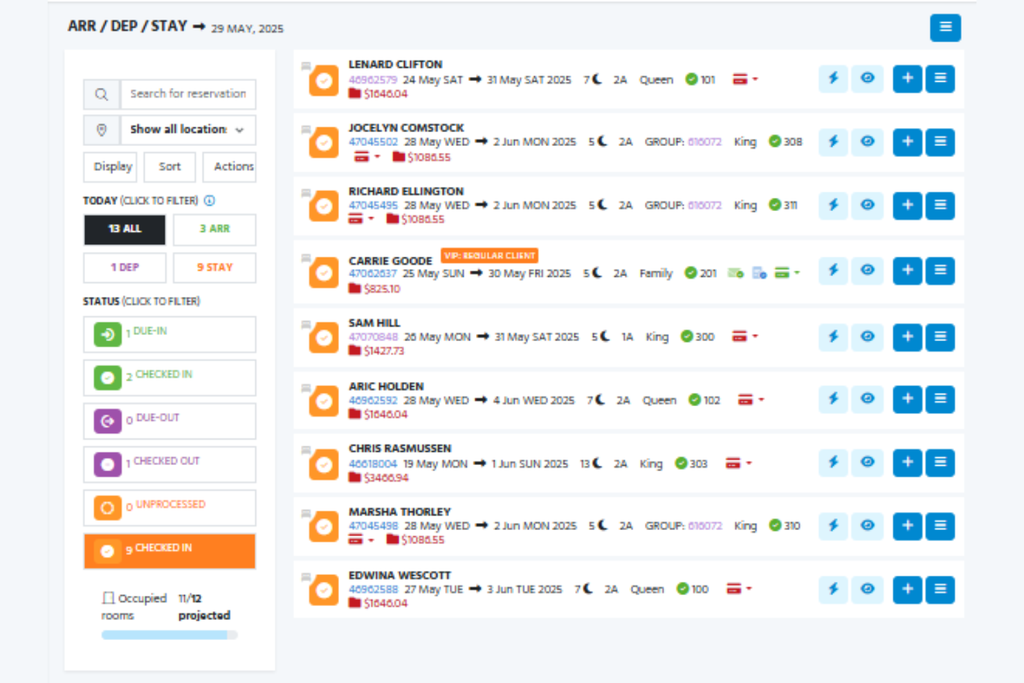
Monitor the system closely during the first two weeks after launch. Review error logs, channel synchronization, availability, rate plans, payments, and folio balances daily so small configuration issues do not turn into larger operational problems.
Keep your floor leads visible during the first week and hold short shift debriefs to identify repeated questions or failed workflows. Track each issue and how it was resolved, then schedule a formal review with the vendor or implementation consultant after the first month.
Use this post-launch routine:
- Review daily reports: Check errors, channel sync, availability, rates, and folio balances
- Keep floor leads available: Provide immediate support during busy shifts
- Hold shift debriefs: Record recurring questions and workflow problems
- Track every resolution: Document the issue, cause, fix, owner, and result
- Schedule a 30-day review: Reassess configuration, integrations, reporting, and support needs
Top Hotel Reservation Software to Consider
Here's my shortlist of the best hotel reservation software solutions:
Clicks on the links below may earn a commission, which supports our independent testing and review of software and services. Learn more about how we stay transparent.


Best Practices for a Successful Hotel Reservation Software Implementation
Implementation problems usually come from incomplete migration checks, untested integrations, unclear ownership, and rushed training. User feedback also frequently points to channel-sync errors, difficult workflows, and delayed vendor support, so address these risks before launch:
| Don’ts | Instead, Do: |
|---|---|
| Import every historical record without deciding what the property still needs | Define retention rules, migrate active records first, and archive older history securely |
| Assume guest profiles, rate plans, and reservations will map automatically | Run a test migration and reconcile record counts, balances, rates, dates, and guest details |
| Recreate every legacy workaround in the new system | Configure only launch requirements and record lower-priority customizations for later review |
| Connect OTAs, GDS channels, and payment systems directly to live inventory before testing | Test rate, availability, reservation, cancellation, and payment updates in a controlled environment |
| Treat a successful integration connection as proof that data is accurate | Compare test messages across each system and assign an owner to investigate rejected or delayed updates |
| Train only managers or a small group of superusers | Give front desk, housekeeping, finance, and revenue teams role-specific practice with realistic scenarios |
| Schedule go-live during peak occupancy without a fallback plan | Choose a lower-risk launch window, prepare manual procedures, and confirm backup support contacts |
| Ignore confusing screens, slow searches, or missing workflow steps during testing | Log each usability issue, assess its operational impact, and resolve or assign it before approval |
| Give every employee broad administrator access | Create role-based permissions and review access before launch and after staffing changes |
| Rely on vendor demonstrations instead of testing daily property workflows | Have staff complete bookings, check-ins, room moves, payments, cancellations, and checkouts using test data |
| Close issues verbally without recording ownership or deadlines | Maintain an implementation log with reproducible steps, owners, due dates, and retest results |
| Assume vendor support will respond immediately after launch | Confirm support hours, escalation routes, response expectations, and on-site responsibilities in writing |
Ready to Choose the Right Software?
If your implementation plan is ready, the next step is choosing a platform that can support it. Compare options in our best hotel reservation software guide to find systems that match your property’s reservation workflows, integrations, and operational needs.